How to identify and categorise your assets
If you don't know exactly what you are trying to protect, where it lives and why it is important to the company, then you are probably doing it wrong.
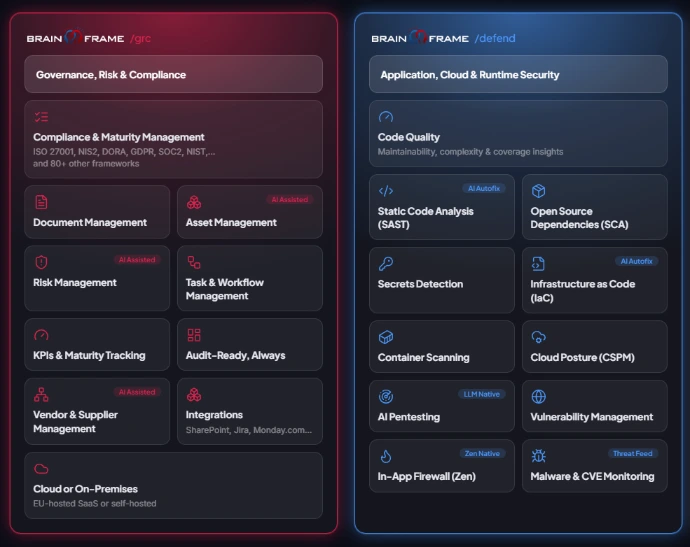
This is why with Brainframe you get the tools to manage this efficiently, independent from the tools used in the organisation you are trying to protect.
Step 1 - Asset identification & classification
To get started you'll need to document and understand what assets exist, here are some examples
- Online & offline Backups
- End user authentication data (e.g. Firebase, Cognito, Auth0, ...)
- End user data
- CRM data
- Source code repositories (e.g. Github, Gitlab, ...)
- Intellectual property (e.g. patents, certifications, hardware design/blueprints, ...)
- Documentation (e.g. Atlassian Confluence, OneNote, ...)
- IoT devices at your customer under your control
- Employees & their data
- Local or cloud based infrastructure (e.g. databases, Web servers, ...)
- Network infrastructure (e.g. Routers, Switches, Firewalls, ...)
- Company provided workstations
- BYOD workstations
- Brand and trademarks
- Product marketing material
- Stock/Warehouse
- Originals of contracts/certifications
- Office/Building
- Key suppliers
- Key partners
- Research
- Communication (e.g. Email, internet connection, ...)
These can be identified by doing some simple meeting/workshops with the different head of department, technical leads and management, and you asking the right questions:
- Who is the "Asset owner"? (responsible for the asset)
- What are known opportunities to protect the asset? (e.g. specific effort on this asset will result in more sales)
- How do you classify these assets? (Public, confidential, sensitive, ...)
- On which "Medium" do these assets live? (e.g. Data center, database, server, vault, ...),
- Who are the stakeholders that might be impacted might anything happen to these assets? Examples: Government, Emergency Services, Employees, Competitors, Legislators & regulators, Data subjects (People behind the data, e.g. patients), End users (Users of our products/services), Sales prospects (potentials users of our services), Research partners, Development teams (Digital, firmware, hw), Marketing (influencers, external platform), Retailer (sales of our products), Shareholders, External auditors/accreditors, Distributors, GDPR Supervisory authority, Board of directors, Product quality & compliance (product quality), Insurers, Infrastructure critical suppliers, Strategic business suppliers
- What are the security requirements for these assets (Confidentiality - impact on security breach, integrity - impact on corruption, availability - how long can they be offline/unavailable - RTO/RPO)
- What are known risk scenarios to the assets?
- What are potential threat actors to the asset?
- What administrative measures are already in place for this asset?
- What technical measures are already in place for this asset?
- What risk around this asset are you willing to accept?
Step 2 - Document your assets
The proper documentation of the information collected during these sessions can be done using the "Inventory of ..." document type in Brainframe which comes we pre-configured templates.
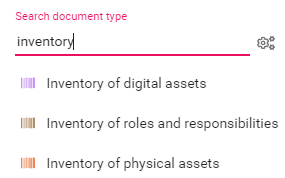
Which makes it easy to create an individual document for each type of asset, while making sure you don't forget anything

Step 3 - Put your assets where they make sense
During step 2, all your assets are created in the same folder. Now make a folder structure that makes sense for your company, like a dedicated hierarchy per department, product, system, technology, etc.
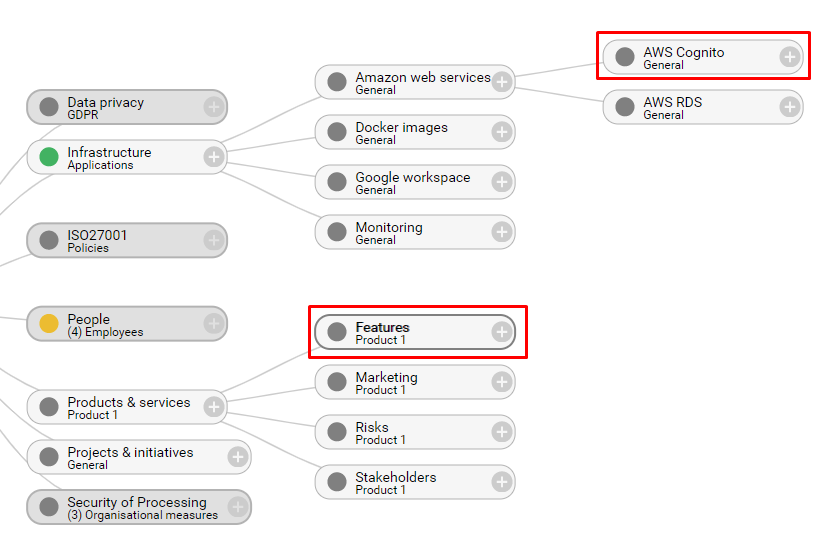
All documents and folders created in Brainframe can live in multiple places at the same time. This means that if you have a document that describes your digital asset, you can put it in a folder where all your assets live together, but you can also "link" them to another folder (e.g. specific to a product). No matter where you change something to the content of the document, it will immediately be up to date in all other places, giving you and your collaborators an easy and effective way to always find back the information.
Let's say we want to make a "Customer profile data" document that currently only exists in "Features (Product 1)" folder, also live "AWS Cognito":
Start for free now!
Like with GDPR, don't wait until the last moment because this will only be more expensive and put unneeded stress on your teams!
Subscribe to our newsletter
By providing your email we'll send you updates on our service per email
(not more than one mail per week).